Showing posts with label christmas. Show all posts

Tuesday, January 15, 2019

One Final Christmas Card

4 comments
Well actually I do have one more, but I won't bore you now.

I have a love affair with Poinsettia's, I love the color ranges and the beauty of their petals.  This one caught my eye because of it's airy, wispy look.  I created the sentiment (love doing that) and I thought I would photograph this with the front and the back of the card showing.


Wednesday, January 9, 2019

3 comments
A selection of Christmas Cards for 2018:  I was in a very Christmas song kind of mood.


Monday, September 22, 2014

Winter Wishes

5 comments

I am entering this card in the Mod Squad "Sweet Tooth" challenge.  They have some gorgeous cards over there and a Starbucks gift card for the winner. 

 This very warm, inviting, hot cup of delicious, chocolaty cocoa is a free digi that I had to do very little to.  A little extra color to the mug and diamond stickles to the snowflake, candy cane, and froth.  Definitely out of the box Christmas card colors, for me anyway.  The Winter Wishes sentiment is from a GinaK Christmas duo called Snowman Wishes.  Definitely early for Christmas  for me since I am a last minute card maker…usually.

Happy Holidays!

2 comments

This card is for Lee’s “Sweet Tooth” challenge at Mod Squad.  How yummy does that sound.  Can’t wait to see all the “delicious” delights that await…in the form of a card of course.

 For this card I used Meljen’s Holly Cupcake digi image.   Perfect for Lee’s Sweet Tooth challenge.  Colored it up and added lots of Diamond Stickles and a Tim Holtz Snowflake embossing folder and a few pearls.  The sentiment is a GinaK Christmas duo called Ornamental Holiday.

Thank you for the delicious challenge Lee!

Tuesday, December 31, 2013

Celebrate the Season

6 comments

This card is for Sean’s fun challenge, I’m dreaming of a CAS Christmas, STV13MODDYCHRISTMAS3

I am loving this challenge.  For this card I used a stamp that had never been inked before.  It’s the gorgeous Poinsettia from Melanie Muenchinger’s A Year of Flowers 2 stamp set.  What a beautiful stamp set it is.  I stamped the flower using Tim Holtz Distress Ink called Fired Brick; it is a pretty color for that Poinsettia.  To give the flower just a little extra pop I colored the little center of the flower with a Copic marker, Y38 called Honey.  The sentiment is one that I haven’t used often, but one that I really like when I think to use it, from Theresa Momber’s Celebrate the Season stamp set, also a favorite of mine.  It’s such a versatile stamp set and beautifully done.  Pop dotted that onto my card stock and voila it was complete.  I love this card, AND another completed card to either send or use for inspiration next Christmas!  Thank you Sean!


Merry Christmas

2 comments

This card is for Sean’s challenge at StampTV, I’m dreaming of a CAS Christmas, STV13MODDYCHRISTMAS3

This challenge just clicked for me and I think for the first time in my card making history, I really enjoyed CAS and I think the card is actually pretty, imagine that.  For this card I used the gorgeous stem from Theresa Momber’s Elegant Florals stamp set.  I stamped it using Memento Olive Grove, but it didn’t stamp as cleanly as I had hoped so got out the trusty Copic markers and using YG03 Yellow Green colored over the leaves and also the berries using R59 Cardinal.  I had pretty red Swarovski crystals and glued them right over the berries for a fun sparkle.  The sentiment is from Nina Brackett’s Fanciful Tags set.  I think after all the fussy Christmas cards I made, it was refreshing to do something that is pretty but with a clean feel.  Thank you Sean!


Merry Christmas

1 comments

This card is for the negative side of Cat’s challenge, there’s two sides to everything, STV13MODDYCHRISTMAS2

So as you can see I have that pretty black oval frame just waiting to be used.  I heat embossed the Merry Christmas sentiment from Nina Brackett’s Fanciful Tags stamp set with a silver embossing powder.  After that cooled down I ran it through my Cuttlebug using the Swiss Dots embossing folder.  Layered that piece under the black oval frame and added the pretty Poinsettia that I made from Sizzix and Tim Holtz called Tattered Poinsettia, it really is a pretty die set.  Was fun using the different Christmas papers I had left for this.  I made several of them.  And now, I am one card ahead of the game for next Christmas!


Christmas Thank You

0 comments

This is for Cat’s challenge at StampTV, there’s two sides to everything, STV13MODDYCHRISTMAS2

The die that I chose to use for my positive and negative cards is Spellbinders Petite Ovals die, Large.  The positive die cut was embossed with a silver detail embossing powder and for the sentiment I used Gina K Stamp set Various Verses, always one that I go to first.  After the heat embossing cooled I attached all the layers and added the Poinsettia and some branches using a Martha punch.  And now I have one more Merry, Merry thank you card done.  This was a fun challenge as I tend not to use my negative die panels and now I am thinking…what a waste.  Thank you Cat for the inspiration.

Christmas Thank You

0 comments

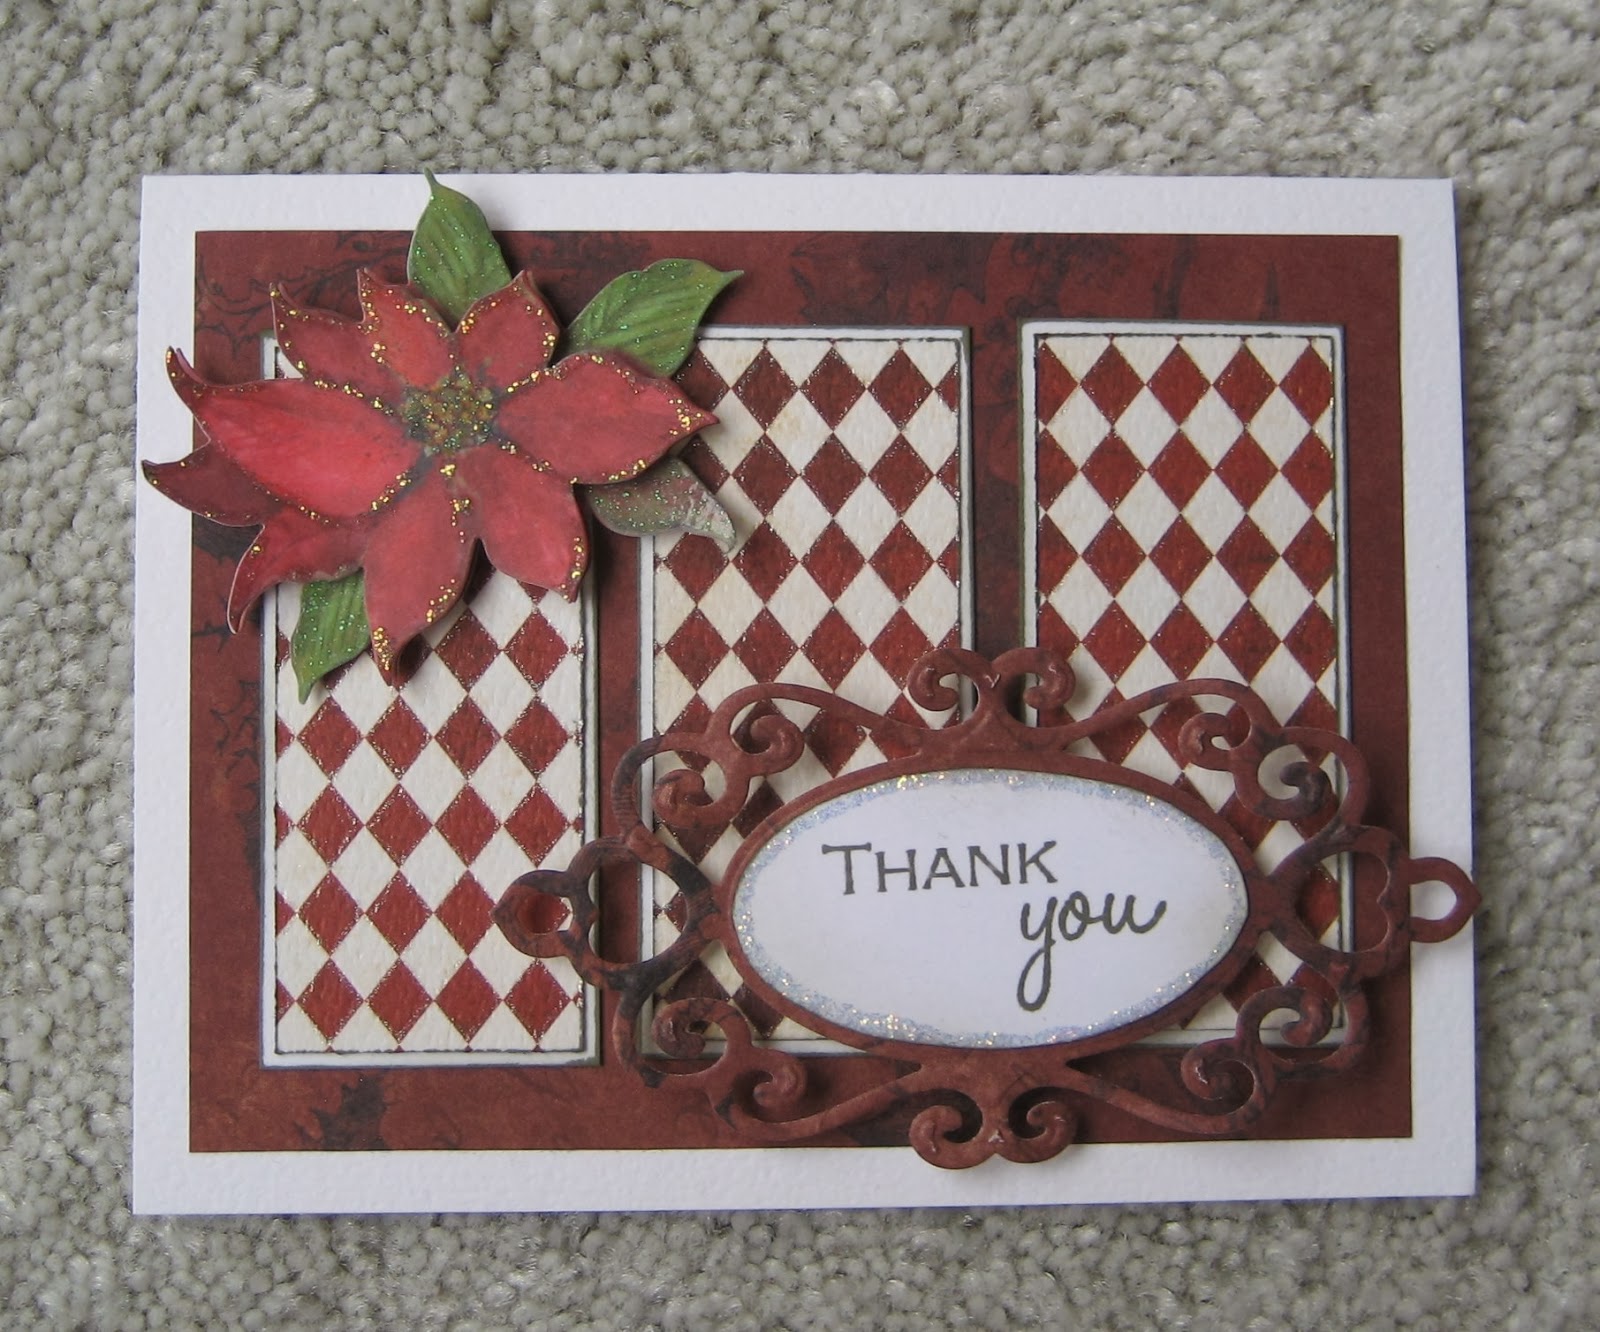
For Laurie’s challenge STV13MODDYCHRISTMAS4 Christmas Thank You, over at StampTV.

Well this was a fun Sketch CHALLENGE and for me it really was challenging!  Trying to get those 3 little panels the right size was not easy, but since this was my favorite of her sketches, I persevered.  And I am glad I did because I think the card turned out perfectly…well I know nothing is ever perfect…but I do like it.  All the papers are scraps from Christmas DP’s I had used for Christmas cards, I love using my scraps.  Got all the layers attached to the card and then stamped the Thank You from Gina K Stamps Various Verses, I thought the font had the perfect balance for the card.  I attached the sentiment to Spellbinders Fancy Tags 2 and added the pretty little Poinsettia.  To make the card sparkle a little I added Diamond Stickles around the sentiment and traced all the little diamonds on the background panels with my Sakura Clear Star pen.  Not sure it shows well in the photo though.


Saturday, December 28, 2013

Merry Christmas!

2 comments

This card I made using my Mother’s Sizzix Holly Leaf die and a sentiment from Studio G.  I had some of the pretty glittery lime green paper that I got from Peddlers Pack, haven’t been able to find it again and that’s what I layered the holly and sentiment on.  Glittered up the holly berries and it was finished.  Thought it made a festive card.  I had just enough paper to make 2 cards.  I love a limy Christmas!

Wishing you a very Merry Christmas!

4 comments

This is the card that I made 30 of for mailing out, a very clean and simple design using a stamp from Great Impressions called Evergreen Wreath, the sentiment also came from Great Impressions.  I colored with Copics, keeping it very simple and added a little glitter to the holly berries and the wispy fronds.  Stamped the sentiment right below the image and that was it other than the embossed piece which is by Cuttlebug called Pirouette by Anna Griffin.


Fleece and Joy!

1 comments

Here is another Pink Petticoat image from the Christmas Baa Humbug digi set.  Too cute!  Colored with Copics, lots of fun glitter and then popped it onto cardstock that had been embossed using Darice Snowflake Swirls embossing folder.  Love that Christmas pudding hat he has on.  A very clean and simple card and an easy mailer too.


Merry Christmas Ava!

1 comments

This is for our youngest Granddaughter Ava who is 7 and a wonderful little ballerina and she loves The Nutcracker.  The sentiment is computer generated by me and the image is I am sorry to say not identified.  I hate when that happens.  I tried searching for it again but alas no success.  Anyway I printed the black and white image on heavy white card stock, colored her with Copics, added some glitter and layered onto Christmas digi paper, added snowflakes and a snowflake border and it was complete.  I know little Miss Ava will love it and can’t wait to give it to her.


Celebrate the Season!

1 comments

Well here is a styling’ card made using one of the digis and sentiment from Pink Petticoat called Christmas Diva Doodles.  This went to a couple of girl friends who LOVE shoes and purses.  Colored with Copics and glittered them up and that was it.  Another clean and simple card that mailed with no worries.


Have a cool Ewe-l!

0 comments

I am in love with the Christmas Collection from Pink Petticoat called Baa Humbug, there are several Ewe images and also sentiments that go with them.  They really did the trick for a clean and simple card.  I printed them on white card stock with the sentiment, colored with Copics, added some pretty glitter and layered that onto some Christmas digi paper and that was it.  My cards definitely have a pastel theme going this year.  These were among my mass produced cards for mailing…no extra postage!


Merry Christmas Maggie!

1 comments

This clean and simple card is for Granddaughter number 1, who just turned 15, now that truly makes my head spin (no wine needed for this one!).  Maggie is a fun loving young lady and I knew she would love this little Penguin from Bugaboo called Little Penguin Winter Candy Cane.  (Bugaboo is still having their 50% off sale if you would like to go check them out.)  After coloring it with Copics, it didn’t require much, just a little glitter and layered it onto a piece of Christmas card stock.

Merry Christmas Ella!

1 comments

This is for my Penguin loving pink and purple girl Ella, who by the way IS VERY COOL.  This is a digi stamp from SKDigis called Chilly the Penguin and boy was she fun to color and glitter up.  The sentiment also came with Chilly.  Ella loved it.  I printed the digi on white cardstock and colored with Copics.  Layered that onto Spellbinders Scalloped Ovals and then onto an embossed snowflake paper.  The embossing folder is by Darice and is called Snowflake Swirl, it is fast becoming my favorite Christmas embossing folder.
 

Christmas Mail

1 comments

This was a Christmas card I made just because…I had the Timothy Letter to Santa, by DeviantArt digi stamp for a long time and decided now would be a good time to break it out.  I used some Christmas themed digital paper that had some green, blue and blustery snowflakes and thought that would make a cute background for little Timothy.  After coloring with Copics, I added a little glitter here and there and that was it.


Merry Christmas Aidan

2 comments

I made this card for my 9 year old grandson who loves to go whooshing down the side of a mountain at full speed with no fear what so ever.  Truly unbelievable, I would literally be quaking in my boots.  This sweet image is from Bugaboo, one of my favorite digi stamp shops and is called Winter Snowboard and was a freebie no less.  This fit Aidan to a tee.  This is totally a digital card.  I layered two Christmas papers and added my snowboard image and a sentiment.  Printed it out and colored my little daredevil with Copics and layered that onto cardstock.  Added some Stickles and glitter and it was done.  And as I think of my favorite Christmas song and this image, it has to be White Christmas as in I'm dreaming of...

Tuesday, December 10, 2013

Winter Wishes

7 comments
Well this was fun.  I had some pretty Christmas paper that has been calling to me for a few days, and I’ve had a hankering (where the heck did that word come from) to use Kraft for Christmas too, and so this was the result.  I stamped the snowman from Gina K Stamps Snowman Wishes and the sentiment included plus the little snowflakes from Theresa Momber’s The Giving Tree with VersaMark and sprinkled with embossing powder from Sparkle and Sprinkle called Guilded Ivory.  Not sure why I haven’t used that before because it is really pretty in person.  My photo doesn’t do the sparkle justice.  Anyway after I finished the embossing, I shaded the image with Memento Love Letter and boy did that pop the white snowman.  To also bring out some of the green in the patterned paper I edged the focal image with Memento Olive Grove, added a die cut border from Memory Box called Frosty Border and there you have it.