Tuesday, December 31, 2013

Happy 2014!

3 comments
To all of you wonderful friends that come by to visit my blog and leave your very sweet, kind comments, I would like to say thank you and to wish you all a very Happy, Healthy, 2014.
Happy New Year!  Cheers!

Celebrate the Season

6 comments

This card is for Sean’s fun challenge, I’m dreaming of a CAS Christmas, STV13MODDYCHRISTMAS3

I am loving this challenge.  For this card I used a stamp that had never been inked before.  It’s the gorgeous Poinsettia from Melanie Muenchinger’s A Year of Flowers 2 stamp set.  What a beautiful stamp set it is.  I stamped the flower using Tim Holtz Distress Ink called Fired Brick; it is a pretty color for that Poinsettia.  To give the flower just a little extra pop I colored the little center of the flower with a Copic marker, Y38 called Honey.  The sentiment is one that I haven’t used often, but one that I really like when I think to use it, from Theresa Momber’s Celebrate the Season stamp set, also a favorite of mine.  It’s such a versatile stamp set and beautifully done.  Pop dotted that onto my card stock and voila it was complete.  I love this card, AND another completed card to either send or use for inspiration next Christmas!  Thank you Sean!


Merry Christmas

2 comments

This card is for Sean’s challenge at StampTV, I’m dreaming of a CAS Christmas, STV13MODDYCHRISTMAS3

This challenge just clicked for me and I think for the first time in my card making history, I really enjoyed CAS and I think the card is actually pretty, imagine that.  For this card I used the gorgeous stem from Theresa Momber’s Elegant Florals stamp set.  I stamped it using Memento Olive Grove, but it didn’t stamp as cleanly as I had hoped so got out the trusty Copic markers and using YG03 Yellow Green colored over the leaves and also the berries using R59 Cardinal.  I had pretty red Swarovski crystals and glued them right over the berries for a fun sparkle.  The sentiment is from Nina Brackett’s Fanciful Tags set.  I think after all the fussy Christmas cards I made, it was refreshing to do something that is pretty but with a clean feel.  Thank you Sean!


Merry Christmas

1 comments

This card is for the negative side of Cat’s challenge, there’s two sides to everything, STV13MODDYCHRISTMAS2

So as you can see I have that pretty black oval frame just waiting to be used.  I heat embossed the Merry Christmas sentiment from Nina Brackett’s Fanciful Tags stamp set with a silver embossing powder.  After that cooled down I ran it through my Cuttlebug using the Swiss Dots embossing folder.  Layered that piece under the black oval frame and added the pretty Poinsettia that I made from Sizzix and Tim Holtz called Tattered Poinsettia, it really is a pretty die set.  Was fun using the different Christmas papers I had left for this.  I made several of them.  And now, I am one card ahead of the game for next Christmas!


Christmas Thank You

0 comments

This is for Cat’s challenge at StampTV, there’s two sides to everything, STV13MODDYCHRISTMAS2

The die that I chose to use for my positive and negative cards is Spellbinders Petite Ovals die, Large.  The positive die cut was embossed with a silver detail embossing powder and for the sentiment I used Gina K Stamp set Various Verses, always one that I go to first.  After the heat embossing cooled I attached all the layers and added the Poinsettia and some branches using a Martha punch.  And now I have one more Merry, Merry thank you card done.  This was a fun challenge as I tend not to use my negative die panels and now I am thinking…what a waste.  Thank you Cat for the inspiration.

Christmas Thank You

0 comments

For Laurie’s challenge STV13MODDYCHRISTMAS4 Christmas Thank You, over at StampTV.

Well this was a fun Sketch CHALLENGE and for me it really was challenging!  Trying to get those 3 little panels the right size was not easy, but since this was my favorite of her sketches, I persevered.  And I am glad I did because I think the card turned out perfectly…well I know nothing is ever perfect…but I do like it.  All the papers are scraps from Christmas DP’s I had used for Christmas cards, I love using my scraps.  Got all the layers attached to the card and then stamped the Thank You from Gina K Stamps Various Verses, I thought the font had the perfect balance for the card.  I attached the sentiment to Spellbinders Fancy Tags 2 and added the pretty little Poinsettia.  To make the card sparkle a little I added Diamond Stickles around the sentiment and traced all the little diamonds on the background panels with my Sakura Clear Star pen.  Not sure it shows well in the photo though.


Monday, December 30, 2013

La bella vita

5 comments

This card is for the Timeless Tuesday #251 ~ Vellum challenge at Flourishes.

For this card I used the sentiment from Flourishes Italian Garden stamp set, it has such pretty images.  I added the stamped vellum tag to an embossed panel using the Cuttlebug embossing folder Swiss Dots, one of my favorites.  Topped that panel with a frame made from Spellbinders A2 Matting Basics dies.  Then topped that off with the gorgeous Tim Holtz Poinsettia die from Sizzix.  Poinsettia’s are one of my very favorite Christmastime flowers and I thought it fit that pretty sentiment beautifully.


Saturday, December 28, 2013

Happy Birthday Carol!

2 comments

My sister Carol has a December 19th birthday and she doesn’t like Christmas themed birthday cards…no red or green allowed, so I printed out my Bugaboo digi image Stella 29 Again and colored it in purples and oranges and greens, layered that onto GKD Springtime Silhouettes patterned paper and then topped it all off with a frame made from a Spellbinders oval die cut.  Added a few rhinestone shapes and wished her a Merry Birthday…I mean Happy Birthday!

Merry Christmas!

2 comments

This card I made using my Mother’s Sizzix Holly Leaf die and a sentiment from Studio G.  I had some of the pretty glittery lime green paper that I got from Peddlers Pack, haven’t been able to find it again and that’s what I layered the holly and sentiment on.  Glittered up the holly berries and it was finished.  Thought it made a festive card.  I had just enough paper to make 2 cards.  I love a limy Christmas!

Wishing you a very Merry Christmas!

4 comments

This is the card that I made 30 of for mailing out, a very clean and simple design using a stamp from Great Impressions called Evergreen Wreath, the sentiment also came from Great Impressions.  I colored with Copics, keeping it very simple and added a little glitter to the holly berries and the wispy fronds.  Stamped the sentiment right below the image and that was it other than the embossed piece which is by Cuttlebug called Pirouette by Anna Griffin.


Fleece and Joy!

1 comments

Here is another Pink Petticoat image from the Christmas Baa Humbug digi set.  Too cute!  Colored with Copics, lots of fun glitter and then popped it onto cardstock that had been embossed using Darice Snowflake Swirls embossing folder.  Love that Christmas pudding hat he has on.  A very clean and simple card and an easy mailer too.


Merry Christmas Ava!

1 comments

This is for our youngest Granddaughter Ava who is 7 and a wonderful little ballerina and she loves The Nutcracker.  The sentiment is computer generated by me and the image is I am sorry to say not identified.  I hate when that happens.  I tried searching for it again but alas no success.  Anyway I printed the black and white image on heavy white card stock, colored her with Copics, added some glitter and layered onto Christmas digi paper, added snowflakes and a snowflake border and it was complete.  I know little Miss Ava will love it and can’t wait to give it to her.


Celebrate the Season!

1 comments

Well here is a styling’ card made using one of the digis and sentiment from Pink Petticoat called Christmas Diva Doodles.  This went to a couple of girl friends who LOVE shoes and purses.  Colored with Copics and glittered them up and that was it.  Another clean and simple card that mailed with no worries.


Have a cool Ewe-l!

0 comments

I am in love with the Christmas Collection from Pink Petticoat called Baa Humbug, there are several Ewe images and also sentiments that go with them.  They really did the trick for a clean and simple card.  I printed them on white card stock with the sentiment, colored with Copics, added some pretty glitter and layered that onto some Christmas digi paper and that was it.  My cards definitely have a pastel theme going this year.  These were among my mass produced cards for mailing…no extra postage!


Merry Christmas Maggie!

1 comments

This clean and simple card is for Granddaughter number 1, who just turned 15, now that truly makes my head spin (no wine needed for this one!).  Maggie is a fun loving young lady and I knew she would love this little Penguin from Bugaboo called Little Penguin Winter Candy Cane.  (Bugaboo is still having their 50% off sale if you would like to go check them out.)  After coloring it with Copics, it didn’t require much, just a little glitter and layered it onto a piece of Christmas card stock.

Merry Christmas Ella!

1 comments

This is for my Penguin loving pink and purple girl Ella, who by the way IS VERY COOL.  This is a digi stamp from SKDigis called Chilly the Penguin and boy was she fun to color and glitter up.  The sentiment also came with Chilly.  Ella loved it.  I printed the digi on white cardstock and colored with Copics.  Layered that onto Spellbinders Scalloped Ovals and then onto an embossed snowflake paper.  The embossing folder is by Darice and is called Snowflake Swirl, it is fast becoming my favorite Christmas embossing folder.
 

Christmas Mail

1 comments

This was a Christmas card I made just because…I had the Timothy Letter to Santa, by DeviantArt digi stamp for a long time and decided now would be a good time to break it out.  I used some Christmas themed digital paper that had some green, blue and blustery snowflakes and thought that would make a cute background for little Timothy.  After coloring with Copics, I added a little glitter here and there and that was it.


Merry Christmas Aidan

2 comments

I made this card for my 9 year old grandson who loves to go whooshing down the side of a mountain at full speed with no fear what so ever.  Truly unbelievable, I would literally be quaking in my boots.  This sweet image is from Bugaboo, one of my favorite digi stamp shops and is called Winter Snowboard and was a freebie no less.  This fit Aidan to a tee.  This is totally a digital card.  I layered two Christmas papers and added my snowboard image and a sentiment.  Printed it out and colored my little daredevil with Copics and layered that onto cardstock.  Added some Stickles and glitter and it was done.  And as I think of my favorite Christmas song and this image, it has to be White Christmas as in I'm dreaming of...

I'm Back!

2 comments

Well a big hello to all!  I hope this finds you happy and content after a wonderful Christmas, I certainly am.  We were blessed to have had our daughter Amy, husband Matt and children Maggie 15, Luke 11, and Ella 9 here for a full week of merry, merry and just sent them on their way back home today.  It seems awfully quiet in this house right now, but I have many wonderful memories to hold me over till we see them again, and we have the countdown to New Years which is fast approaching.  Plus we get to see our Son Aaron and his sweet family in a week and do Christmas all over again, how lucky can we get I ask.

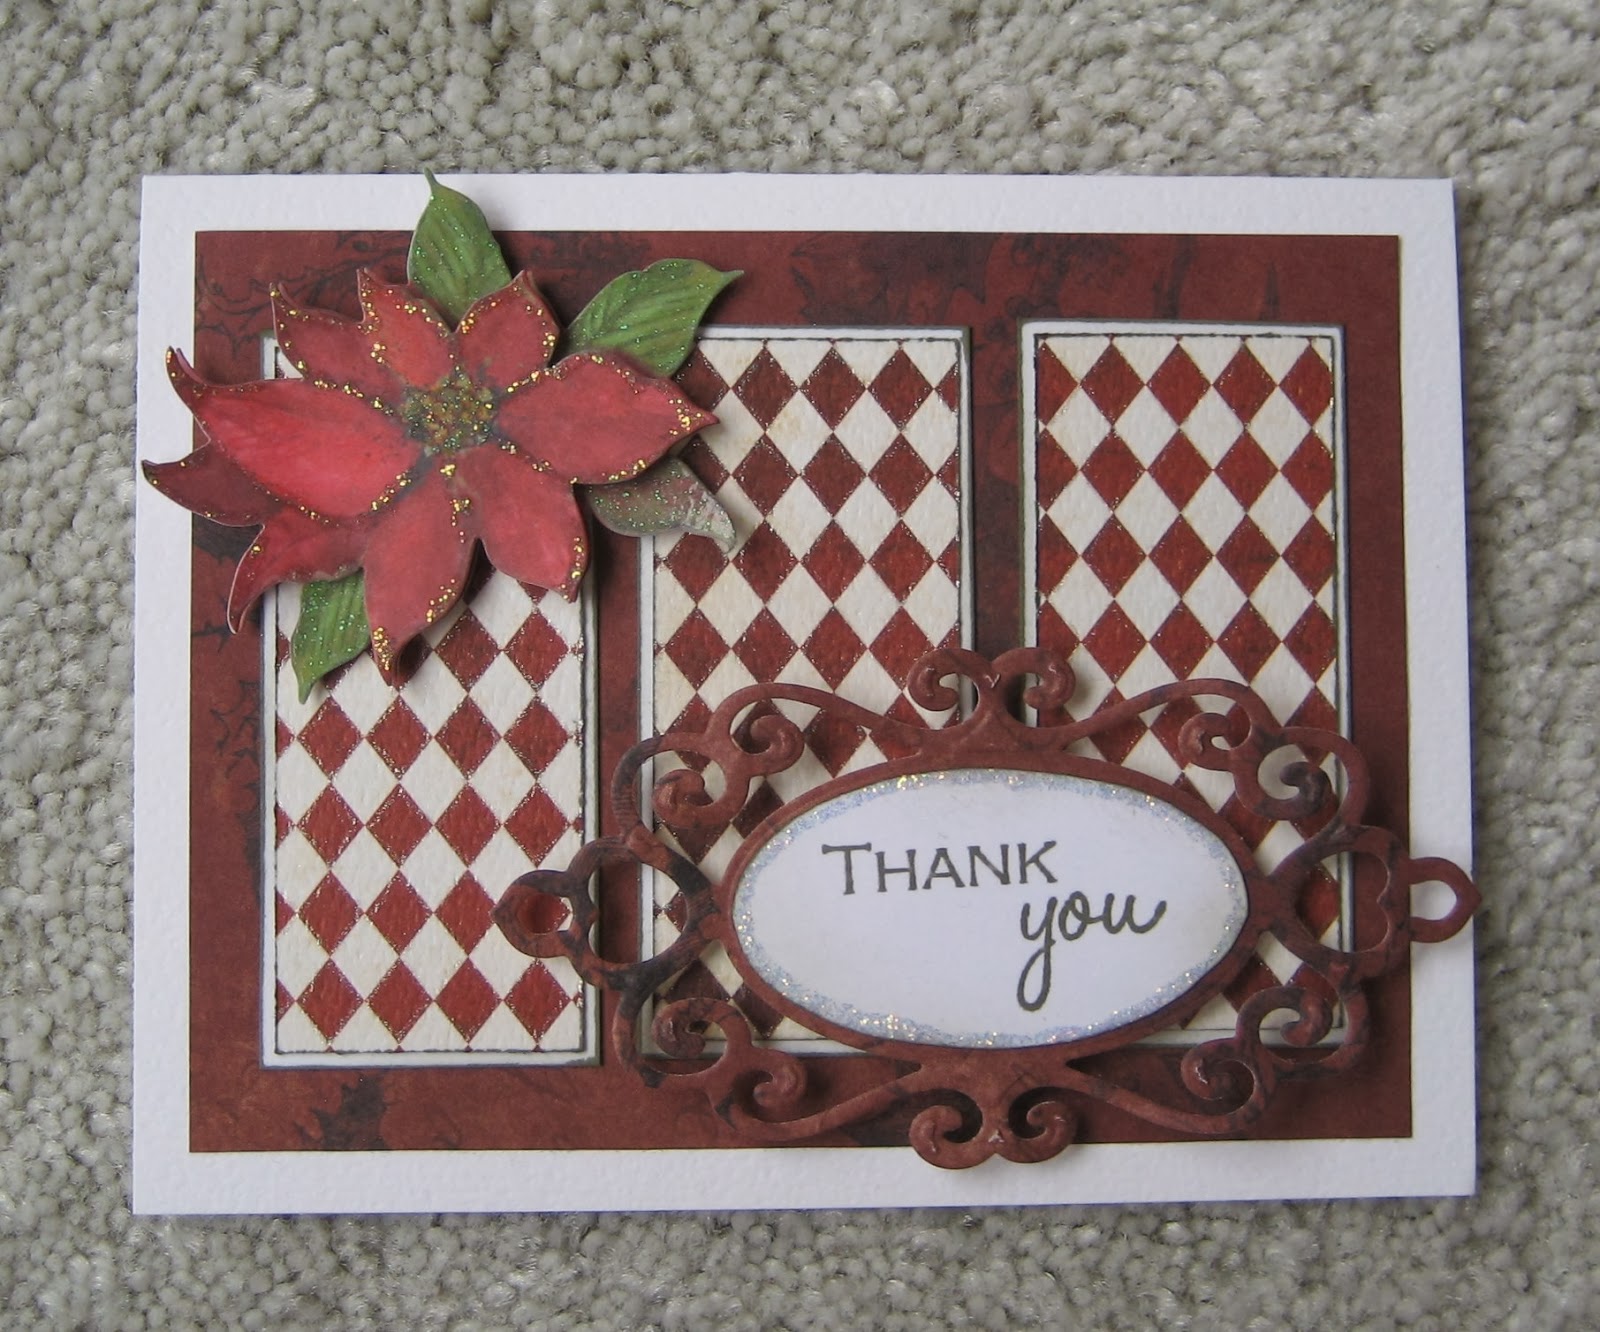
So now it’s time to get serious and start making cards.  I have several birthdays and an anniversary card to do, so off I go, but in the mean time I want to wish you all a Very Happy New Year, filled with good health, happiness and the love of family and friends.

Happy New Year 2014 dear friends!

Tuesday, December 10, 2013

Winter Wishes

7 comments
Well this was fun.  I had some pretty Christmas paper that has been calling to me for a few days, and I’ve had a hankering (where the heck did that word come from) to use Kraft for Christmas too, and so this was the result.  I stamped the snowman from Gina K Stamps Snowman Wishes and the sentiment included plus the little snowflakes from Theresa Momber’s The Giving Tree with VersaMark and sprinkled with embossing powder from Sparkle and Sprinkle called Guilded Ivory.  Not sure why I haven’t used that before because it is really pretty in person.  My photo doesn’t do the sparkle justice.  Anyway after I finished the embossing, I shaded the image with Memento Love Letter and boy did that pop the white snowman.  To also bring out some of the green in the patterned paper I edged the focal image with Memento Olive Grove, added a die cut border from Memory Box called Frosty Border and there you have it.


Season everything with Joy

8 comments
One more card for the Flourishes December release challenge “Flip It”.  I chose to use sketch FLLCDEC13B.  Lots of fun but really had to concentrate and THINK before cutting, nearly strained my brain on this one, as a matter of fact I did strain my brain.  This would have called for a glass of wine if it hadn’t been so early in the day!  Onto the details…I used my newest stamp set from Flourishes called Italian Garden, so many lovely images on this set, but I chose the potted Rosemary and the “season everything with joy” sentiment.  Colored the Rosemary and pot with Copic markers and shaded the focal and sentiment with Memento Toffee Crunch.  Added some small black brads and that was it.

Monday, December 9, 2013

Happy Birthday Dwane!

3 comments
My wonderful brother-in-law Dwane is celebrating his 83rd birthday and he is a golfer.  In fact all four of the Brenneman brothers are golfers and every summer, they hold the Brenneman Brother’s golf tournament, and boy do they take that seriously.  My husband Dave, the youngest of the bunch and the least practiced golfer of them all has to plead for one of them to be his partner!  Brotherly love and all you know.  Anyway this is for you Dwane.  This card is a compilation of digi stamps, the golf course background is from Digital Delights by Louby Loo and is called Golf Background colored.  The guy all wrapped up in his golf club is by Karen’s Doodles and is called What a Swing.  The hole in one sentiment is from Doodle Pantry, a freebie by the way, and I created the Best Birthday Ever on the computer.  I colored our very enthusiastic golfer with Copics, popped all that on papers from my stash, added a twine ribbon and I do believe that was it.  The Birthday Wishes For You at the bottom of the card is from Gina K. Stamps and is called Famed Greetings.  I traversed the whole internet putting this card together!

Sunday, December 8, 2013

A Cup of Thanks

10 comments

Flourishes December Release Challenge, FLLCDEC13B / Flip it Sketch Challenge
 

I made this thank you card using the brand spanking new, gorgeous set of Flourishes “Grab a Cup” stamp set.  I was sold as soon as I laid eyes on that latte’ cup and the fun sentiments.  I colored with my Copics and layered per the challenge design on Graphic45 papers, love that paper.  I angled the sentiment and stamped using Memento Espresso Truffle.

Happy Birthday Your Awesomeness!

2 comments
My Granddaughter Maggie is not only “WAY AWESOME”, but is also about to celebrate her 15th birthday.  Well saying all that almost took my breath away, how fast time goes by.  I love this darling digi image from Mo’s Digital Pencil called Roxy.  It fits Maggie to a tee.  Colored it up with Copic markers and added lots of Stickles Diamond glitter glue to the image and also to all the little green dots on the background paper.  Used my Gelly Roll white glaze pen on the blue paper and topped it all off with an all glittered up Snowflake Corner from Memory Box.  Did a little paper piecing on the chair skirt.
I am entering this into Mo's challenge #212, called "I is for..." and my I is for indoors and individual.

Snowflakes Aplenty

1 comments

Wow, what a fun way to greet the day, a cup of coffee in hand and "Big News" from Cat.  Thank you StampTV and "random" card picker program!  I won the prize package for StampTV's release party challenge.  12/12/2013

I used the gorgeous snowflake from Gina K. Stamps called Snowflake and embossed with a new embossing powder, for me anyway, called Kaleidoscope, by Stampendous.  It has lots of sparkle in it.  I used Memento Teal Zeal and Toffee Crunch for shading.  Popped that onto pretty winter papers from my stash and as embellishment added snowflake punches and rhinestone sparkles.


Sunday, November 24, 2013

Autumn Blessings

6 comments

For this monochromatic card, I chose to stamp Gina K’s Better with Age grape stamp as the focal and for the sentiment I used Autumn Blessing’s from Theresa Momber’s Fanciful Fall stamp set.  I stamped the image and sentiment using Memento Espresso Truffle, but the image out with Spellbinders and then went about shading with Memento Toffee Crunch and Morocco.  Love those colors.  I layered that onto a pumpkin colored piece of cardstock from my stash that had been embossed using a Darice embossing folder called Fall Leaf Background.  Added some pretty matching ribbon from my stash and there you have it.

Time to decorate!

6 comments

This little snowman scene is direct from Great Impressions Stamps and is called Decorating Snowman.  I tried to make a night scene around him by shading with a couple of Memento blue inks, but instead of night, I think it looks more dusky, if that’s a word.  Colored the image with Copic markers, added copious amounts of Stickles diamond glitter glue, a snowflake corner from Memory box and some papers from my stash to pop him up on.  A sweet little winter scene, don’t you think.

Saturday, November 23, 2013

Merry Christmas

1 comments

This little tree trio is from Gina K Stamps called Merry Tree and the sentiment is also from that set.  I stamped the trees and sentiment using Memento Tuxedo Black and got my quickie glue pen out and added lots of fine glitter to those trees.  Love that sparkle!  What I like most is that this little trio of trees scene has a clean and simple, uncluttered feel to it.

Friday, November 22, 2013

Golden Skates

7 comments

When I saw this beautiful image, I was drawn back, way, way, way back in time.  Is anyone out there old enough (and would you even admit to it) to remember the book Golden Skates, the story of Carol Heiss, a true teenage phenomenon in the world of ice skating?  Well I do remember and as a matter of fact I got the book at school through the Scholastic Book program, I would have been 10 years old.  After reading that book, the only thing I wanted to become was an ice skater.  Well that didn’t happen!  Moving on…that’s what this image reminded me of and I had to make a card using it.  The skates are placed on the image so beautifully, all I had to do was a little shading and coloring and add a little Sakura Clear star and it was done.  This to me is a beautiful memory and a wonderful winter scene.  Oh, I almost forgot to give credit to The Graphics Fairy for this wonderful image.


Winter Wishes

1 comments

I used this pretty snowflake stamp from Gina K Stamps called Snowflake and borrowed the sentiment from Snowman Wishes for this card.  I stamped the snowflake using Tim Holtz Distress Ink Weathered Wood and glittered those little snowflakes all up, then embossed that panel using a Darice embossing folder called Snowflake Flourishes and then layered that onto a coordinating piece of card stock.


Thursday, November 21, 2013

Thankful For You

2 comments

Out came the Gelatos again, this time using the Neutral set only.  Blended them onto a heavy weight card stock and set it aside to dry.  Using the Signs of Autumn stamp set’s maple leaf and the sentiment from Thankful for You, I inked it up with VersaMark and StampinUp’s Classy Copper embossing powder.  Thought it made a pretty combination of color tones.  Popped the focal over papers from my stash and added a ribbon/button treatment.

Thankful for You

1 comments
I finally inked up my Friendship, Family, Love stamp and the sentiment from Thankful for You, from Gina K Stamps, but before I did that, after joining in all the blog hops using Gina’s stamps and Faber-Castell Gelatos and all that wonderful inspiration, I decided to open up my “Neutral”, and Metallic packages of Gelatos.  I cut some heavy white cardstock from Classic Crest, got out my mister and got to work.  How fun was that, its finger painting for adults, OUTSIDE THE LINES!  After the background dried, I got the VersaMark pad out and inked the focal image and sentiment and then sprinkled fine gold embossing powder on.  Ran the background papers through the Cuttlebug with Musical Flourish embossing folder, added a little white ribbon and that was it.  Not sure how successful this is, I'm thinking it needs more embellishments.


Warm Winter Wishes

4 comments

This cool Christmas winter scene is a stamp from Penny Black called Village Christmas if memory serves.  I found an example already colored on her site, so used that as my guide because I liked the color tones used.  Mine turned out OK, but definitely not as professional as the one that served as my example.  This is the first time stamping and coloring a whole scene.  The sentiment is a digi from SKDigis, I put a little shading on it and topped with a couple of rhinestones, attached that to a ribbon band and that was it.  The pretty patterned paper is from Graphic45’s 12 days of Christmas.


Wishing you joy!

1 comments

This cold snowy Christmas scene was created using a penguin stamp and sentiment from Gina K Stamps called Penguin Joy.  Colored him up with Copic markers and then fussy cut him and glittered him all up to match the Tim Holtz Alterations/Sizzix BigZ die called Pine Tree.  I glittered that tree all up with Stickles Diamond to reflect a snowy cold day for the little Penguin.  The background paper was embossed with a Darice embossing folder called Snowflakes and Flourishes (a favorite), then popped everything up on pop dots after adding a little ribbon band.  Hope you enjoy.

Oops!

8 comments
Merry Christmas Luke!
This little winter scene was created from a Sassy Cheryl’s digi stamp called Getting Stuck Boy and this one is going directly to my Grandson Luke for Christmas.  He’ll love it and it fits him to a tee.  I colored it especially to conform to his favorite college football team, the Oregon Ducks, their colors are green and yellow.  I did find a Graphic45 Christmas paper pack called 12 days of Christmas, that echoed some of the Ducks colors, so I got Christmas into this after all.  The sentiment is from TLCCreations and thought it fit perfectly.

Merry Christmas

3 comments

This fun little winter scene was created using a snowman stamp from Gina K stamps called Snowman Wishes.  I colored him up with my Copics, fussy cut him and then went about adding lots of glitter glue to make him sparkle.  I love the Darice embossing folder called Snowflakes and Flourishes for the background, making this little guy feel right at home with all those flakes swirling around him.  A simple Merry Christmas sentiment finished it off.

You are so cool!

3 comments

This is a sweet little Penguin digi image from SKDigis called Chilly the Penguin.  Colored her up in non-traditional Christmas colors, pastel greens and pinks are Ella's favorite colors and added some pretty background papers that I embossed with a Darice folder called Snowflakes and Flourishes, fun die cuts and lots of glitter and sparkle.  I thought my Granddaughter would like the “cool” sentiment and this fun winter scene theme.


Tuesday, November 12, 2013

Let Your Dreams Take Flight

5 comments
For this card I used the gorgeous dragonfly and sentiment from Gina K Designs Dreams Take Flight stamp set.  I’ve loved this dragonfly since the day Gina introduced it.  I stamped it onto card stock with VersaMark and then added silver embossing powder.  But before that, I got my set of Gelato metallic’s out and went to work blending them on the cardstock.  This is a fun product to use.  You really can’t see the pretty shine that the metallic Gelatos adds to the card stock, but in real life it has a very pretty luster.  I matted the focal image onto black cardstock and that onto a textured silver cardstock and back to black again.  Photography and silver embossing powder is a hard combination to overcome as you can see.


Monday, November 11, 2013

I'm Guest Designer for SKDigis "In the Spotlight Monday"!

10 comments

Hi, I’m Barbara and I’m "addicted to digi stamps".  I don’t think I need a 12 step program YET…SKDigi’s have too many cute images I need to try.  What a privilege to have been asked to be a guest designer there, I am honored, thank you Sonia.  I have been a card maker for three years or so and my husband of 46 years (and counting) encourages me in this.  He’s known for bringing me a glass of wine to my craft room in the afternoon and therefore...I'm Happy as a Clam in White Wine Butter Sauce. 
I chose to make two cards with this wonderful Christmas digi called Mistletoe.  The first card is very traditional in style and color.  I printed and colored the image using Copic markers, the leaves are done using G07 Nile Green and G14 Apple Green and the berries with R37 Carmine.  Used Spellbinders Classic Squares to cut and then layered that image onto white cardstock that was embossed with a Darice embossing folder called Snowflake Swirl.  I added glitter to the Mistletoe image and also to the Memory Box Frosty Border die using Glitter Ritz Cool Highlight.  Layered some pretty green ribbon over the red ribbon to back the Frosty Border die.

 
My second card using the Mistletoe image and greeting I made by taking the image and shrinking it down to create a border band and printed and colored with Copics YG03 Yellow Green for the leaves and for the berries I used R32 Peach.  I used Stickles Diamond to add a soft glitter to the images and then layered that atop white card stock and that onto peach cardstock that also had been embossed with the Darice embossing folder Snowflake Swirl.  I added a peach ribbon for interest and there you have it. 


So as you can see using the same image in two ways (and counting) gives you a completely different look and feel making it a very versatile digi. 

Sunday, November 10, 2013

An Autumn Note

1 comments

This is a “thumper” card.  I had so much fun the other day, decided to do it again.  Another virgin stamp met ink; this one is from Theresa Momber’s ElegantFlorals.  There is such a graceful flow to this stem I couldn’t pass it up.  I have several colors of Memento marker pens going on this one and also topped it with Stickles Diamond, which really made those colors pop, the greens, oranges, browns, yellows and reds.  Popped that onto an embossed background.

Friday, November 8, 2013

Give Thanks

2 comments

Sometimes a cards simplicity speaks louder than an elaborately embellished one, and that’s how I feel about this card.  Sean Fetterman’s challenge this week at StampTV is all about falls colors, foliage and blooms, so when I saw this K&CO patterned paper patiently waiting to be used, I thought Ah Ha!  I added a sentiment band and used 2 black brads from one of my Gina K StampTV Kits and called it good.  The sentiment from Theresa Momber’s Autumn Beauty was stamped with Memento Potters Clay.  I put pop dots under the band and popped it atop the card for a little added dimension.


Like a fine wine...

4 comments

This one’s for you Donna!  This is one amazing stamp set from Gina K Stamps, Better With Age, and would be my perfect interpretation of all that represents fall…the gorgeous leaves with greens and oranges and a gorgeous cluster of grapes in shades of purples, all succulent and ready to munch or to stomp into that wonderful liquid that I’m served every evening at five.  Stop laughing Donna, Gerry and Barbara!  Seriously!  This card is a CASE from a very creative gentlemen on StampTV, Sean.  His card using this glorious grape stamp is gorgeous, from his coloring to the layout design.  I colored the grapes with a combination of Copic and Memento markers and added a touch of Sakura Stardust pen for a little sparkle and because I love them, put a copper dragonfly brad on for extra interest. The papers are from my stash, I added pop dots to the back of the focal image and popped it up.  Thank you Sean for providing your wonderful inspiration for my card and to you too Donna for chiding me into using this fun stamp set.


Birthday Wishes

3 comments

For this card I used Theresa Momber’s stamp set Elegant Florals, what a pretty stamp set.  I used the thumping and direct to stamp techniques using Memento Dew Drops for the leafed stem in Potter’s Clay, Lady Bug and Cottage Ivy.  The thumping was used on that little dragonfly from Dreams Take Flight, also a Gina K Stamp set, with Memento water based markers using Bamboo Leaves from the Greenhouse marker set and Tangelo for the top wing and Cantaloupe for the smaller bottom wings from the Camp Fire marker set.  And finally I stamped in Potter’s Clay that pretty Birthday Sentiment from Theresa’s Elegant Florals set.  All of this was stamped onto watercolor paper and popped onto patterned paper from my stash, tied it with a pretty orange ribbon and there you have it.

Happy 9th Birthday Aidan

1 comments

We as you can see have a Pirate themed card going on.  That cute pirate ship is a digi stamp and I created the HO, HO, HO sentiment in Photoshop Elements 9.  I found some cute background papers and popped it onto an Action Wobble spring, always a fun thing to do.  The sentiment on the inside is all pirate speak, it seems there was a big thing about pirate speak a while back, so I got online and found some fun words to incorporate into the verse.

Sunday, November 3, 2013

Thankful

7 comments
I have some very talented card makers that have signed up to follow my humble little blog.  Thank you all for this and know how appreciative I am for you and your wonderful inspiration and creativity that keeps me focused and growing with the cards I make.  Love all that fabulous sense of humor too, who can't use a good chuckle from time to time, certainly not me.  Thank you all.

Tuesday, October 29, 2013

Happy Halloween

4 comments

OK…I fibbed, I made one more Halloween card for this year, but this is definitely my last one…
This is all about copper Stickles and embossing folders and a scary spider punch.  I embossed Core’dinations sand it, tear it, emboss it paper with Cuttlebug’s Pumpkin Harvest embossing folder and lightly sanded it.  Then layered a die cut from Cuttlebug called Halloween Sign onto the pumpkin layer.  Punched the spider from a Punch Bunch punch and then went about Stickling all those elements with Stickles Copper glitter glue.  Enjoy!